How to auto-post your RSS feed to social media, with a review step
Turn each new blog post into a post for every channel automatically, with a caption written per network and a review step before anything goes out.
Bu makale yalnızca İngilizce olarak mevcut.
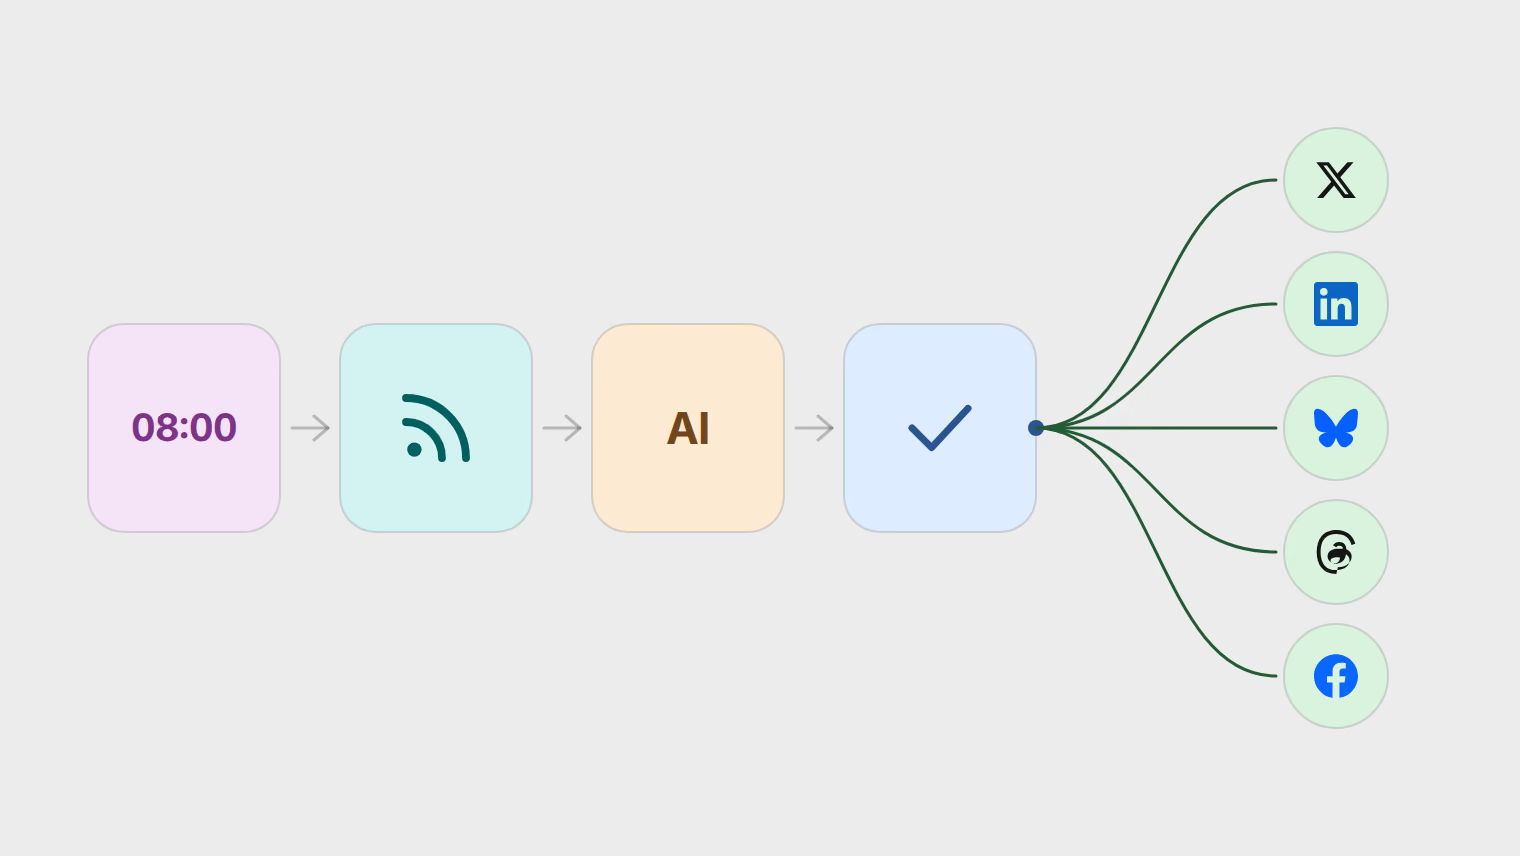
Most articles get shared once, by hand, on whichever network happened to be open. An automation can do that job for you. It checks your blog's RSS feed on a schedule, turns each new entry into a post for the channels you choose, and can hold every post for review before it publishes. You set it up once. After that, your part is reading what it wrote and approving it.
The steps below use Publedia's automations, which are in beta. The traps near the end apply to any tool that reads a feed.
Find your feed URL
Most blogging platforms publish a feed without being asked. This is where it usually lives:
| Platform | Feed address |
|---|---|
| WordPress | yoursite.com/feed/ |
| Ghost | yoursite.com/rss/ |
| Substack | yourname.substack.com/feed |
| Medium (profile) | medium.com/feed/@yourname |
Open the address in a browser before you use it. A working feed shows raw XML that starts with <rss or <feed, or the browser offers to download a file. If you see a 404 or your normal home page, the address is wrong. Check your platform's help, or search your site's page source for application/rss+xml, which marks the feed link.
Publedia reads both RSS and Atom feeds. The feed has to be reachable on the public internet, so a feed on a private network or behind a login cannot be read.
Build the automation
Three starting points read a feed. Each one ends with an approval step before Publish. The first opens a short guided form. The other two open the full canvas editor.
| Starting point | What it adds | Checks the feed |
|---|---|---|
| Feed posts, tailored per channel | An AI rewrite step that writes a caption for each channel | Daily at 08:00 |
| Feed posts, skipping off-limits topics | A content filter that drops entries mentioning topics you list | Daily at 08:00 |
| Busy feed, capped per day | A rate limit that stops once a daily ceiling is reached | At 08:00, 13:00 and 18:00 |
For Feed posts, tailored per channel:
- Open Tools, then Automations, select New automation.
- Choose Publishing, then select Feed posts, tailored per channel. It opens a form with a Next posts preview beside it.
- Under What to publish, paste your address into Feed or channel address and select Look up.
- Turn on Skip what's already in the feed to post only entries published after you set it up, or leave it off to post entries already in the feed too. Turn on Add the post's image if you want one attached.
- Under Check for new posts, set the time. Under Rewrite, keep Write new wording for each channel on.
- Under Channels, choose where to post. Under Review, keep Review each post before it goes out on.
- Check Next posts, then select Turn on. Save as draft keeps it off for now.
The form does not show Entries per run. To set it, or to change any other step, select Open full editor.
Feed posts, skipping off-limits topics and Busy feed, capped per day open the canvas instead:
- Open Tools, then Automations, select New automation, choose Publishing, then pick the starting point.
- Select the RSS feed step. Paste your address into Feed URL and set Entries per run, which takes 1 to 25 and starts at 1.
- Select the Schedule step if you want the feed checked at a different time, and the Publish step to choose your channels.
- Select Preview run to check the result, then Create, and confirm the summary to turn the automation on.
What each post says
By default, the caption is the entry's title, a blank line, and its link. Nothing else from the feed is used, apart from an image if you turn that on (see the images trap below).
The rewrite writes a separate caption for each channel you pick, up to 10, in the tone you choose. The model is given a length target for each network, and the post is still checked against the network's real limit before it publishes (the character limits guide explains how each network counts). Channels you leave out keep the shared title and link.
Two limits are worth knowing. The rewrite works from the title and the link, not the article body, so a specific headline gets a far better post than a clever one. And every channel is a separate AI request charged to the workspace's AI budget: one entry a day on four channels is four requests a day. Use Extra direction (optional) for standing instructions, such as "keep the link at the end" or "open with the problem the article solves".
Three other steps suit a feed. Add hashtags puts a fixed set of tags on every caption, Append CTA adds the same call to action to each one, and Quiet hours holds a post due overnight until the window ends. Quiet hours only apply to posts the automation publishes itself. A draft you publish by hand goes out when you publish it.
Choose how review works
In the guided form, Review each post before it goes out saves a draft. The full editor shows the approval step as Require approval, and under What waiting looks like it has two modes.
Save a draft and finish is the default. The run completes and each post waits in Posts, on the Drafts tab. You open it, edit it if needed, and publish or schedule it yourself. Deleting a draft is the end of that entry, because the automation will not offer it again.
Pause the run until approved creates nothing yet. The run waits under Automations on the Waiting for approval tab, and in your notifications. Approve runs the rest of the steps, quiet hours and rate limits included. Decline publishes nothing. An approval nobody answers expires after the hours set in Give up after, 72 by default. Declining does not skip the entry, though, and neither does letting it expire: the automation offers the same entry again on its next run.
For a feed, the draft mode is usually simpler. Flows that pull from Notion, Slack or Google Drive must include an approval step. For a feed it is optional, but keep it for the first few weeks.
Preview before you switch it on
The guided form's Next posts panel previews what would go out. In the full editor, Preview run shows the path the flow would take and the post it would produce. Nothing is posted or saved. It does fetch your feed, though, and an AI rewrite step can spend AI credits during a preview, so it is not free to repeat.
The traps, and how Publedia handles them
Duplicates
Each entry is published once. Publedia identifies an entry by its guid, or by its link when the feed gives no guid, and never turns the same entry into a second post. If you move your blog to a new platform and the guids change, old entries can look new, so pause the automation during a migration.
A feed that is down
When the feed cannot be read (it times out, returns an error, or is not a valid feed), the run fails with a reason that says why, and the automation stays on. The next scheduled run tries again. A feed with nothing new is not an error, and the run passes quietly.
The first run
To clear the backlog sooner, open the full editor and raise Entries per run before the first run (up to 25, so a longer feed still takes more than one run), keep Save a draft and finish, and delete the drafts you do not want. Then set it back to 1. With AI rewrite on, that first run makes one request per entry per channel.
Link-only posts
A title and a link is a fine fallback and a weak post. It gives people no reason to click, and on most networks it looks like an automated share, which it is. Rewrite per network, or at least append a line of context.
Images and video-first networks
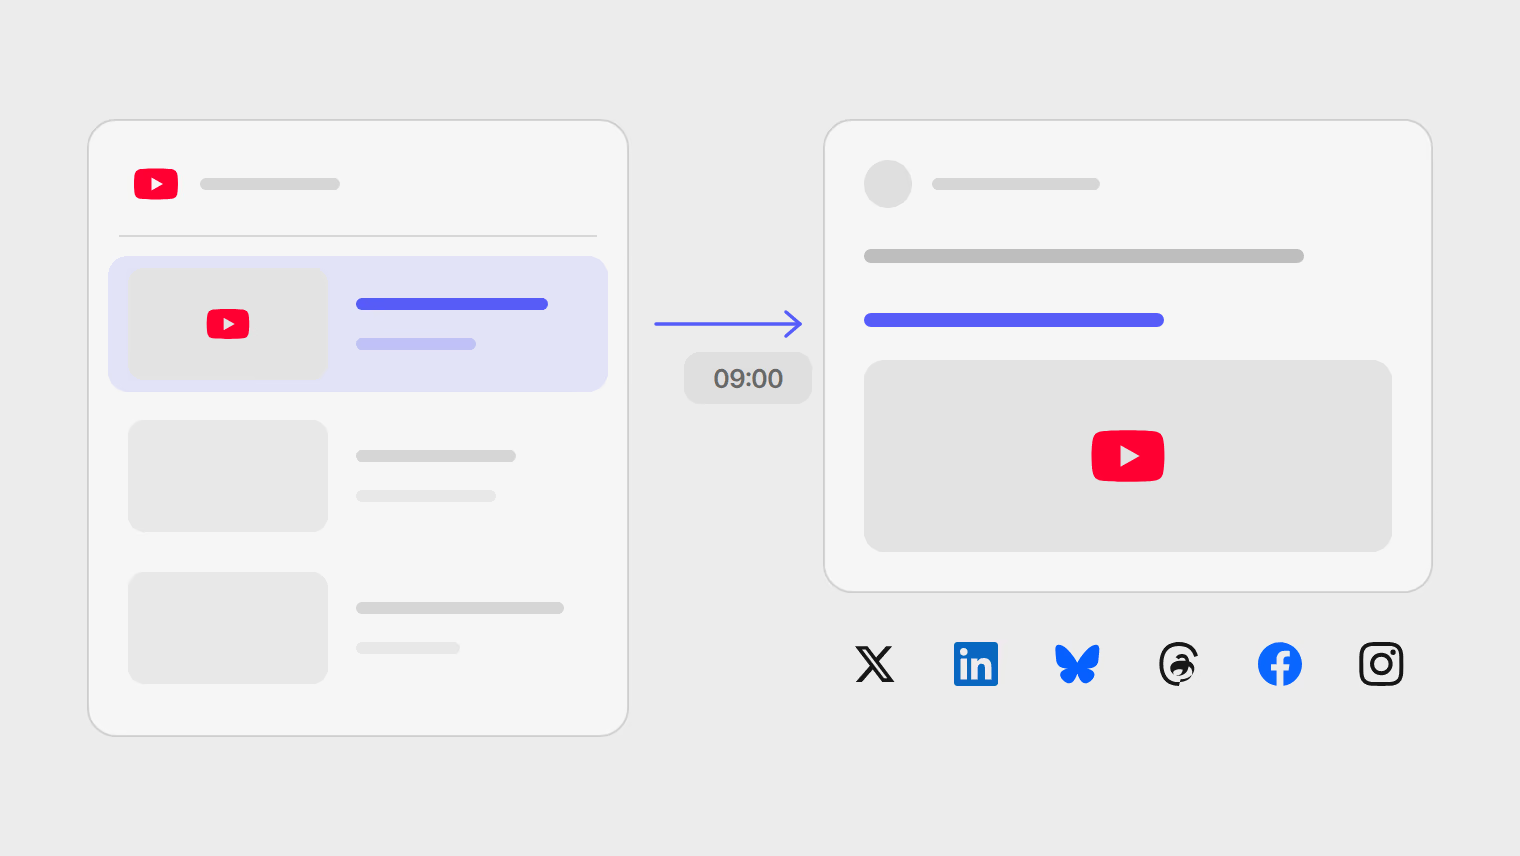
Entries arrive as a title and a link, and the post is text unless you add an image. Turn on Add the post's image in the guided form, or Attach the entry's own artwork on the RSS feed step in the full editor, and Publedia imports the image the feed lists for that entry, such as a video thumbnail or an episode cover, and attaches it to the post. Many blog feeds list no image per entry. Then the feed's own image is used if it has one, which on many blogs is the site logo, so check a preview before you leave the option on. An image that cannot be fetched, or is not a JPEG, PNG or WebP file, is left out and the post goes out as text.
Only images are carried over, never video. Instagram takes an image post but not a text-only one, so a feed automation can publish there only with the image option on and an image in the feed. TikTok and YouTube take video only, so a feed automation cannot publish there. X, LinkedIn, Bluesky, Threads and Facebook take either. To announce your own uploads, see how to share your YouTube videos automatically, which uses a preset built for a channel's feed. Posts to X count against the monthly X allowance (5 on Basic, 15 on Pro, 60 on Ultra) unless the workspace uses its own X app.
Settings that suit most blogs
If you would rather have an AI agent draft posts with your calendar in view, see using AI agents to manage social media.
Plans and limits
Automations are in beta. Each plan includes a number of them: 1 on Basic, 3 on Pro and 15 on Ultra. The pricing page has the rest of each plan. AI steps use the workspace's AI budget, which admins can see in Settings, AI.
To build your first one, open Tools, then Automations, select New automation, and choose Publishing. The automations and repost lists help article covers the builder step by step.
Kaynaklar
Konular
- Automation
- RSS
- Blogging
- AI